Character Rigs with Python
The first step of the automated rigging process was cutting up the geometry into parts, with cuts at joint locations of the rig. Each of the cut up geometry parts will be paired with a joint as the rigging process continues.
With the help of my professor, functions were written to create pivots, name them according to our tech specifications, and position them correctly. This process was repeated for the base, torso, arms, hands, legs and feet. For a quadruped, a tail and movable ears were also accounted for.
Each section of the biped was rigged one after another, in small chunks to ensure that all parts were connected correctly.
After all pivots were in their correct positions, joints were created using another python script. Each joint was re-oriented as needed, and then bound to its matching proxy mesh.
Automated Quadruped Rig
3D Model: Sculpted in ZBrush and re-topologized in Autodesk Maya
Next, I animated the character in a few different poses to test the range of motion. I imported the model and test pose animations into Houdini for weight painting, then re-imported it back into Maya.
When the painted weights were imported back into Maya, I mirrored them along the Z-Axis. The last step of the rigging process is to bind the render geometry to the rig. The script is designed to allow the user to turn render and proxy geometry on/off, depending on what is needed.
Since the functions of this rigging script are modular, much of the code can be re-used for other, different creatures. Slight modifications to the script may be needed in order to suit the creature’s anatomy.
Rigged Character
Manually rigged biped character in Maya
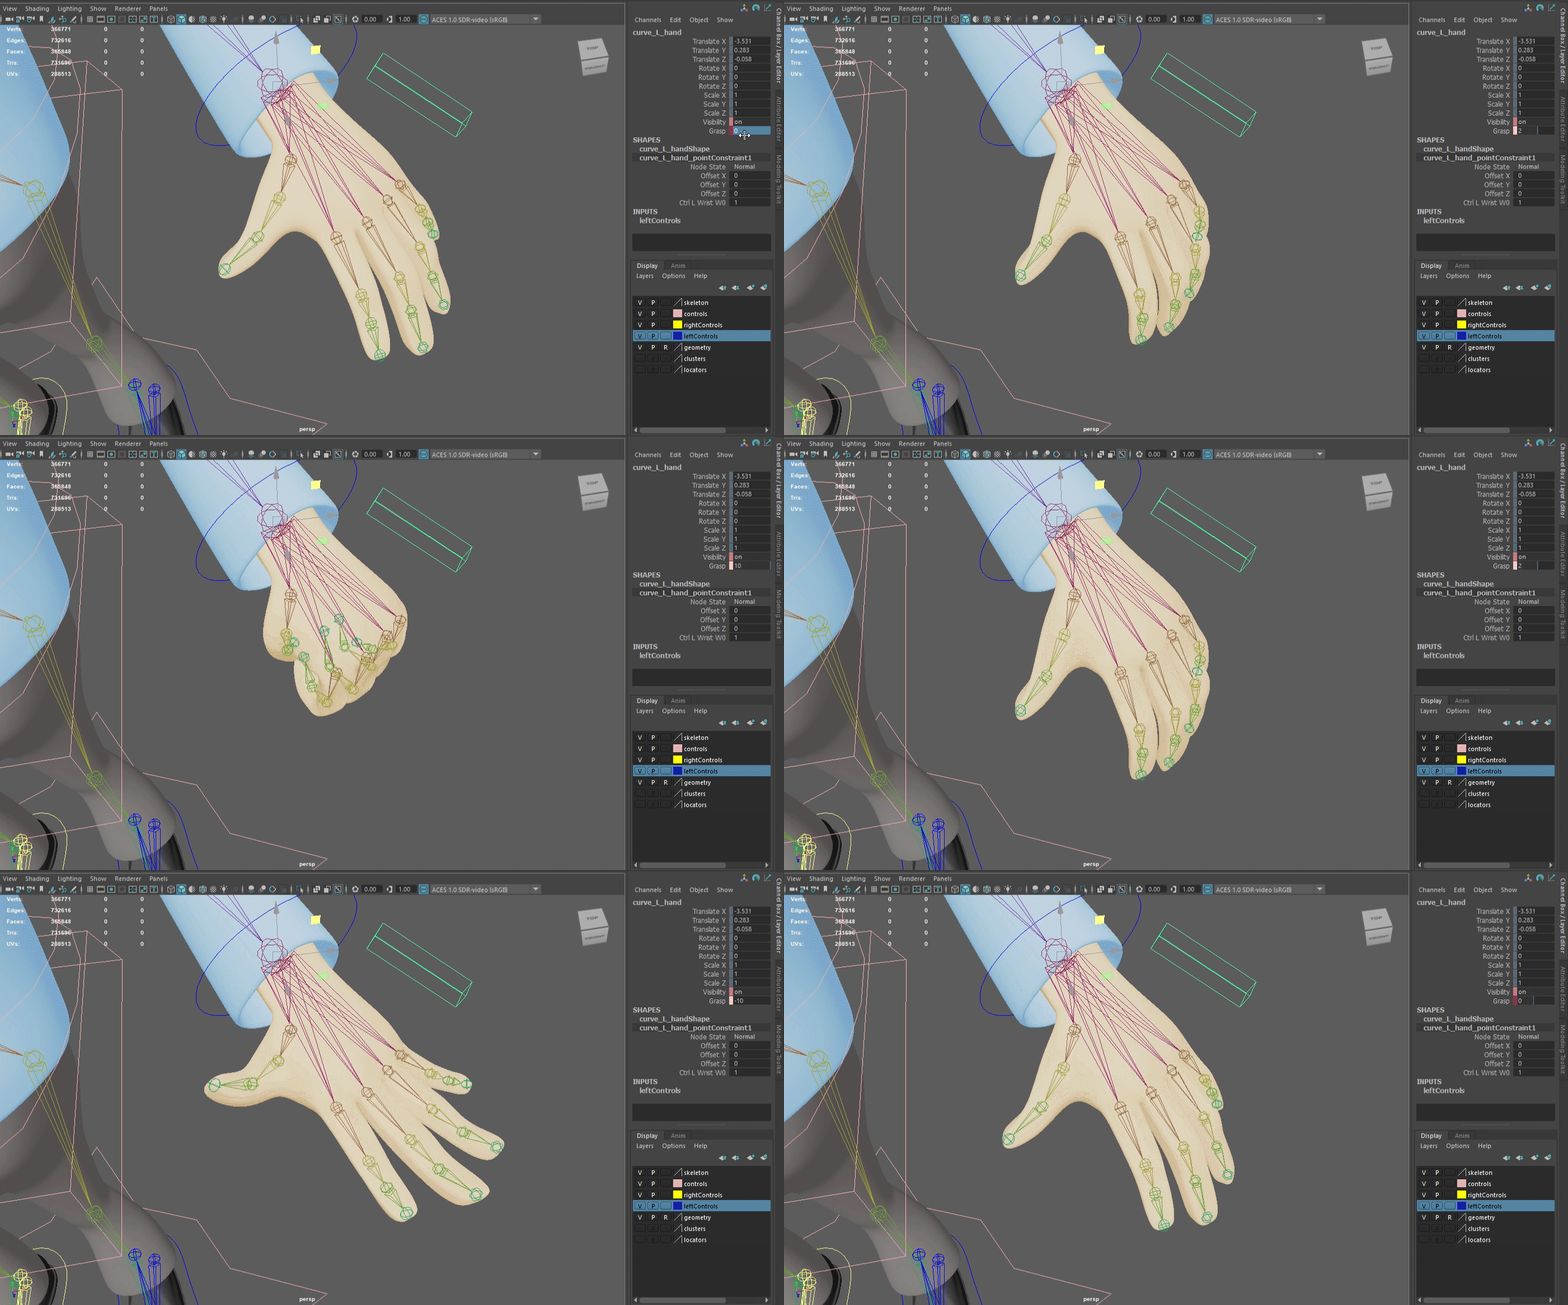
After downloading a 3D model that is free of use, I created a full rig of the character, created appropriate controls and used driven keys where needed.
3D Model Source: [Old man]
The first step of my process was adding locators to key points on one half of the character’s body. The locators serve as an indicator of where the joints are to be placed when creating joints, as the joints can be easily snapped to the position of the locators.
Next, I parented the joints to each other to create one cohesive skeleton. I mirrored the symmetrical joints (arm and leg) to the other half of the body, and oriented joints so that each joint’s x-axis pointed towards its child joint.
I created IK handles for the character’s legs and arms, and created an additional IK handle to control reverse foot lock joints.
The next step was to bind the skin of the character to the joints. Using the EP curve tool, I created controls that were parents of certain joints, allowing easy movement of the character. Lastly, I used the connection editor and set driven keys where needed.


